While smartphones haven’t exactly changed all that much in the last two or three years, the services and applications that make them run definitely have. The apps and services are smarter, more affordable, and more openly available to a wider array of devices and operating systems.
More specifically, cloud storage is available in abundance. Two years ago, cloud storage was relatively expensive, corresponding mobile application support was sparse, and there were only a few services to choose from.

Storage space is more important than ever for mobile users.
However, the level of competition in the space has risen tenfold. Probably more – there’s no way for me to actually know. But at least from the consumer’s standpoint, the space is getting crowded, forcing those who were already around to get creative, competitive, and offer a better deal than the competitors.
Prices for cloud storage have been been driven way down, to a mere fraction of what they once were. Privacy and security concerns have forced most services to up the security measures and implement various forms of encryption. And for the cherry on top, some companies have used auxiliary features to sweeten the deal.
As a mobile user, where do you begin? A generic “cloud storage” search query yields lots of not vey helpful results. There is a lot to choose from and many services have yet to update their pricing to match the aggressive price drops from some of the top cloud storage providers.
Below, you will find some of the most reputable cloud storage options with the best pricing. While it’s hard to go wrong with any of the services listed below, not every service is best suited for every type of user, so I have also broken down which are the best match for the different types of users and use cases.
Security
Dropbox is a name synonymous with cloud storage. With over 220 million users, it’s easily one of the most well-known brands in the space with a long track record. Currently, it’s coming off
a recent security breach in which 7 million account credentials were allegedly acquired, and 400 were posted online to
Pastebin, along with a request for bitcoin in exchange for more usernames and passwords – a scenario all too common these days. Of course, Dropbox
denied that it was hacked, stating the usernames and passwords were unrelated to Dropbox – yet some redditors claim the usernames and passwords actually work.
It’s tough to say exactly what happened, especially when the company claims it wasn’t hacked when, in fact, it appears it was. However, despite the belief that Dropbox is unsafe and not encrypted, it encrypts all data sent to and from its servers, but the files sitting in your account on Dropbox’s servers are not encrypted.
Despite how you feel about privacy and security, it’s a good idea to know what sort of security each cloud storage option offers. And if two-factor authentication is included, it’s not a bad idea to set it up whenever possible.
Dropbox
Aside from all that, what does Dropbox actually offer?
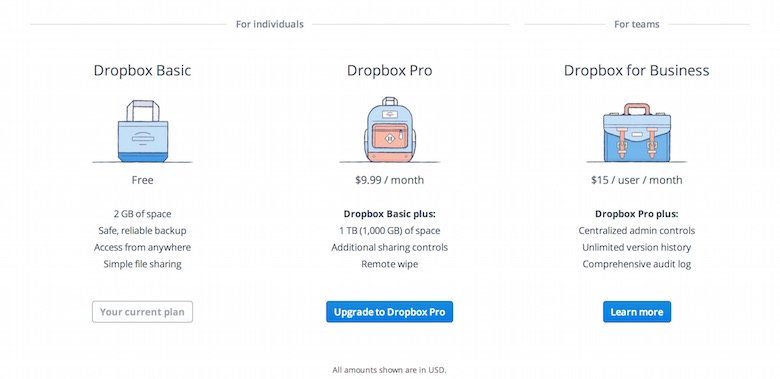
For free, you’re going to get just 2GB of storage. Fortunately, that comes with no file size limit, unless you’re uploading through the web client, in which your files are limited to 300MB.
Additionally, you can sign up for 1TB of storage for $9.99 per month, which should be plenty for most. If you’ve got multiple users, you can sign up for a business account with a minimum of five accounts for $15 per month per user for 5TB. The available storage scales with the number of accounts.
All users get 30-day version history and the ability to restore deleted files for up to 30 days after deletion. There are also native applications available for Android, iOS, Linux, Mac OS, and Windows. While there is no official Windows Phone app, there are a few third-party clients to choose from.
Finally, Pro users get additional features like passwords and expiration dates for shared files, higher sharing bandwidth, remote wipe, and priority customer service.
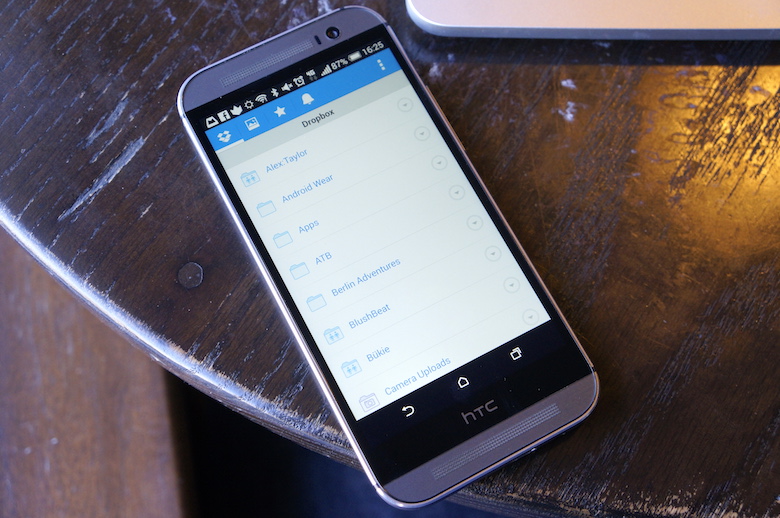
With so much support in third-party apps and clients, Dropbox is one of the best blanket cloud storage options for basic users, especially if you use Mailbox, Dropbox’s email client. You can attach files to emails from Dropbox from within the Mailbox app, which is especially convenient on mobile devices.
Box
Box is another popular option, albeit lesser known than Dropbox. If you’re just looking for something cheap, we’d recommend this over Dropbox. You get 10GB right out of the gate, though your file sizes will be restricted to 250MB. The upgrade to 100GB is just a $5 per month charge, and it increases the file size limit to 2GB. (Rate plans from within the mobile app may differ.)
If you need more, you can switch to a Business account for $15 per user per month, which comes with “unlimited” storage and 5GB file size limits, but it requires a minimum of three users. Box has two separate options which require calling for pricing quotes – Enterprise or Elite. Frankly, outside the free and $5 plans, there are better options if you’re looking for more. Box’s extended plans are mainly geared towards enterprise.
The free Personal and $5 Starter plans do come with a host of very useful features, though, like two-factor authentication, file version history (Starter-only), and dedicated apps for Android, BlackBerry, iOS, Mac OS, Windows, and Windows Phone. Like Dropbox, Box is also integrated into many third-party applications, making it a nice blanket option for anyone just looking for somewhere to store files online.
Copy
Copy is a lesser-known cloud storage option I only came across when it kicked-off its killer signup deal. All new users get 15GB for free for life. You can extend that to 40GB if you refer five friends. (I referred enough to score 342GB in total before the five user limit was put in place.)
If you can get the 40GB, Copy is worth the signup. You get 15GB of daily bandwidth for public or shared files, 30-day retention for deleted files and version history, and no file size limits. There are applications available for Android, iOS, Linux, Mac OS, Raspberry Pi, Windows, and Windows Phone.
Its additional pricing for larger storage plans aren’t exactly competitive, however. For $9.99 per month you get just 250GB. Or you can double that amount for $14.99 per month. That’s almost double what you’ll pay for similar storage options with other services.
The coolest thing about Copy is what it calls Fair Storage. If you have a shared folder with four other Copy users that’s, say, 20GB, that folder will only account for 5GB of storage in each respective Copy account, rather than 20GB in each Copy account. In other words, you can share big files in folders with your friends without it killing everyone’s storage. If you’re not planning on that or earning the 40GB of free storage, there are better options than Copy, though I personally really like it (and got very lucky with referrals).
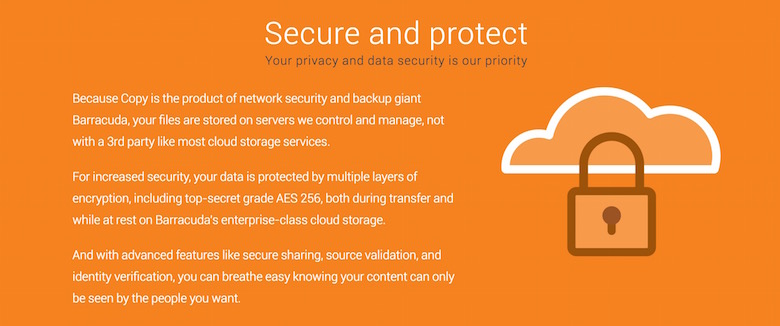
Security, since Copy is a Barracuda product, is top priority, as well. It uses AES 256 encryption to protect your files while being transferred and while in storage on Copy’s servers.
MEGA
If you know anything about the man who started MEGA and the principles on which it was built, you know privacy and security come first with this service. After all, it’s self-described as The Privacy Company. All files being transferred to and stored on MEGA’s servers are encrypted. But that isn’t all. From the MEGA landing page: “… while most cloud storage providers can and do claim the same, MEGA is different – unlike the industry norm where the cloud storage provider holds the decryption key, with MEGA, you control the encryption, you hold the keys, and you decide who you grant or deny access to your files, without requiring any risky software installs. It’s all happening in your web browser!”
MEGA also offers the largest amount of free storage of any of the ones listed here – 50GB.
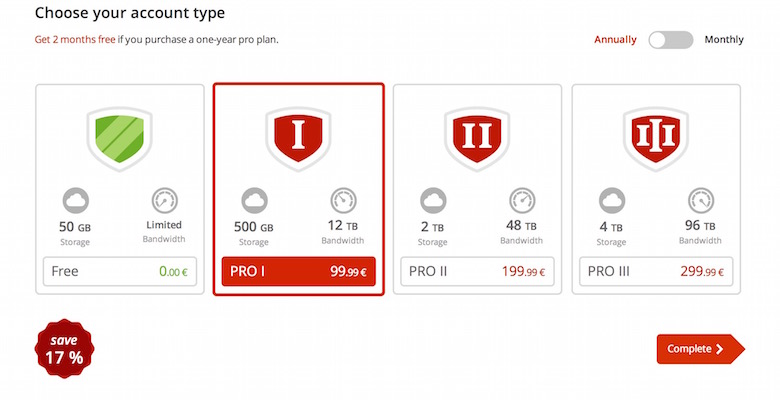
That said, with a free plan, you’re going to get very limited bandwidth for sharing files. Sharing is what MEGA is all about – more so than simply storing. The bandwidth plans included in the pricing are indicators of just that. For €9.99 (about $12.76 USD) per month, you’re looking at 500GB of storage with 12TB of bandwidth; for €19.99 (roughly $25.53 USD) per month, you get 2TB of storage with 48TB of bandwidth; and for €29.99 ($38.30 USD) each month, you get 4TB of storage with 96TB of bandwidth. With each of those monthly plans, you can opt for an annual payment for a discount – €99.99, €199.99, or €299.99 per year, respectively.
The pricing isn’t the best for the amount of storage you get, but it is some of the best pricing you find on serious sharing and distribution of large files. There is also a Chrome and Firefox app, as well as apps for Android, BlackBerry, iOS, Linux, Mac OS, and Windows.
iCloud Drive
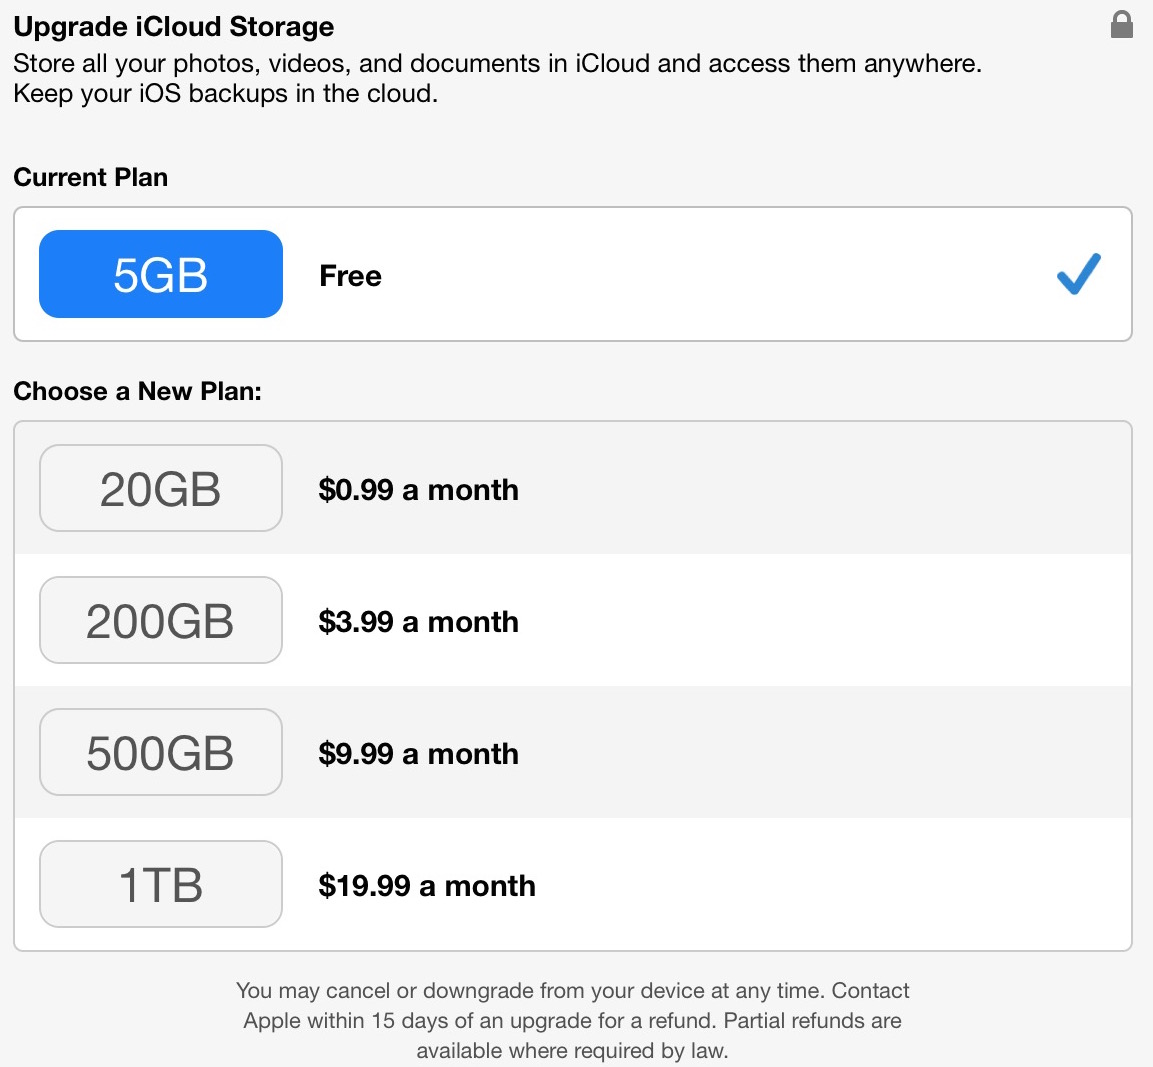
Unlike all the other services listed here, iCloud Drive is brand spankin’ new and it’s limited to users of Apple products. If you don’t have all your money invested in Apple’s ecosystem, other services are highly recommended. if you do, however, you can get a lot for your money out of Apple’s plans. It has one of the most affordable plans – which we imagine will be plenty large for most people – out of the lot, just $0.99 per month for 20GB. It’s 200GB plan isn’t half bad either, for just $3.99 each month. 500GB will run you $9.99 each month, and you can get 1TB for $19.99 per month.
The pricing is certainly better than the old iCloud pricing, and what you can do with it is greatly improved, as well. Rather than simply being a backup and sync service for your iOS devices, iCloud Drive now works as a synced drive between all your Apple devices, Mac or iOS. It operates no differently than similar services, except it’s only accessible from web, Mac, and iOS. It allows you to pick up where you left off from any of your Apple devices.
OneDrive
Microsoft offers something very similar to Apple’s iCloud Drive, and it’s been around a lot longer – OneDrive, formerly know as SkyDrive.
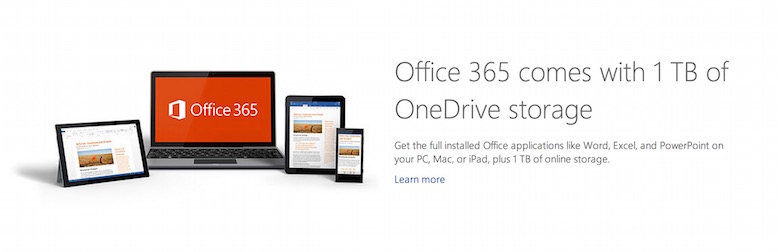
Its pricing is some of the best you can find. You get 15GB for free, but you can add another 100GB for just $1.99 per month, 200GB for $3.99 per month, or 1TB for $6.99 per month. The largest plan is 65 percent cheaper than Apple’s offering and it includes a license for Microsoft Office 365 to boot. You can also earn more storage by backing up your camera roll (3GB) or referring friends (500MB each, up to 5GB).
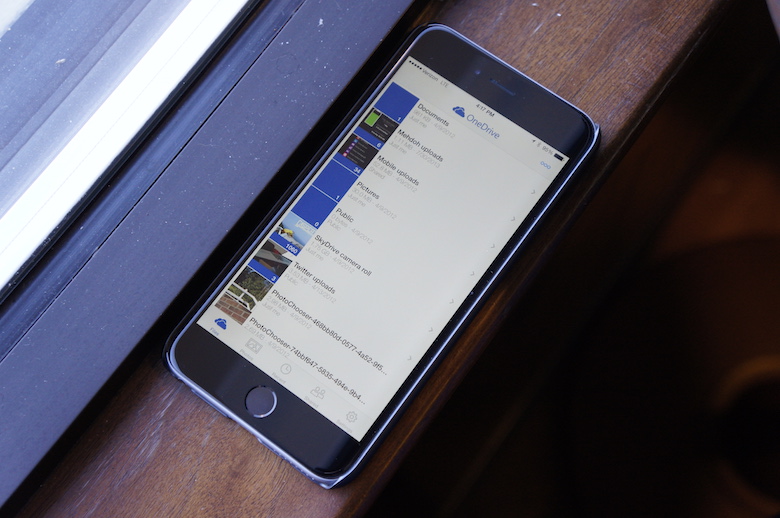
OneDrive isn’t very different from any of the aforementioned services, and it comes with applications for Android, iOS, Mac OS, Windows, Windows Phone, and Xbox. This is one of the overall best options for most users, especially as far as pricing goes. It’s the cheapest 1TB package we’ve found and has broad application support. However, Dropbox has more third-party integration and Google Drive has larger storage options.
Google Drive
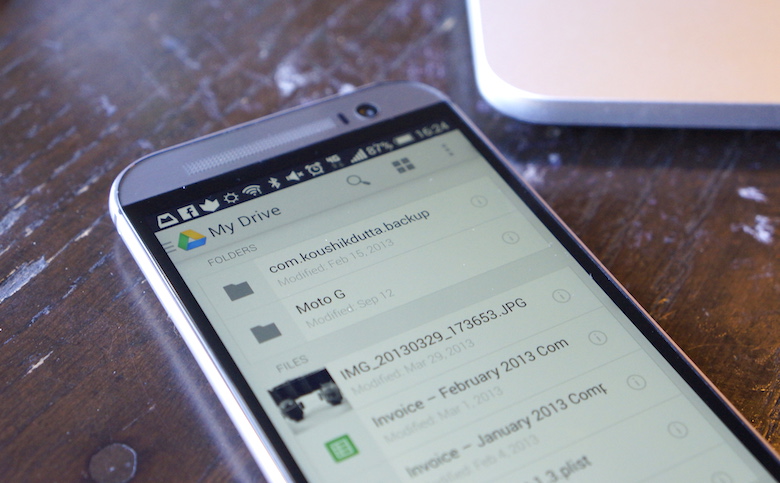
Google Drive is one most people already have and (probably) don’t know about. Every Gmail account created has 15GB of Google Drive storage automatically. This is used for your Google+ photo backups, Gmail attachment storage, and file storage in Google Drive.
If 15GB isn’t enough, you can add 100GB for just $1.99 per month. Adding 1TB will cost you $9.99 each month, which is $3 more expensive than OneDrive, but that’s where Microsoft’s storage options end. No so for Google Drive. You can upgrade to 10, 20, or 30TB storage plans for $99.99, $199.99, and $299.99 each month, respectively. That gets very expensive … but 10 to 30TB of online storage is a whole hell of a lot of space. These are the absolute largest storage options available.
Google’s application support is respectable, but not nearly as broad as some competing services – Android, iOS, Mac, and Windows. However, you will be limited to uploading 1TB files, max.
Conclusion
So where does that leave us? Which cloud storage option should you go with?
Plain and simple, if you value privacy and security, while most options offer some form of two-step authentication and various levels of encryption, it’s safe to say MEGA is the most secure. Other services like SpiderOak (not listed here) are great for privacy, too. But for the price, MEGA is the better buy.
If you need a lot of space – and we mean a lot – Google Drive is the way to go. It will work best with most computers, Mac or PC, and mobile devices (Android or iOS). Unfortunately, Windows Phone isn’t supported. If 1TB will do, OneDrive is a killer deal because it comes with a license for Microsoft Office 365, meaning you can use all the Microsoft Office apps on your computer or mobile devices.
However, if you’re not invested in one particular OS (mobile or desktop), Dropbox is a solid option for the basic end user. That’s not to say Box or Copy aren’t great choices. They each have some advantages, though their specific features and value adds will only benefit select users.
It may sound complicated and appear overwhelming at first, but there is a cloud storage option for everyone. The options are only expanding, prices are getting more affordable, and cross-platform support is growing.
Do you already use a cloud storage option? Share which one you chose and why in the comments below!